Cactus Fries

You can use any variety of wild regional prickly cactus, use the freshest and youngest pads for the most tender results.

You will need:

an electric fondue pot

young and tender prickly cactus pads

grapeseed oil (or any oil that has a smoking point over 400 degrees)

Your favorite flour for coating fries (I use Semilla Nativa gluten-free turmeric and garlic flour, available in Central Florida artisan stores)

(you could also use sprouted wheat flour or quinoa flour, add garlic powder or other spices to the flour if desired)

sea salt

optional – thinly slice onion is great addition!


Instructions:

1.  Clean pads by scraping the prickly spines off with a knife, rinse and slice into long thin slices no more than 1/4 inch thick, place in a colander and rinse with water.

2.  Boil cactus strips in a pot of boiling water for about 3 minutes, rinse again in a colander and cool.  The strips will be slimy.

3.  When cooled, heat about 1 1/2 inches of the oil to 400 degrees in the fondue pot.  While heating, toss cactus strips with your choice of flour, making each piece is evenly coated.  It should stick to the slimy strips well.

4.  Place enough strips in your fondue pot to cover the bottom and let fry for about 7-10 minutes, or until crispy when removed.  Sprinkle with sea salt.  Turn over about halfway through.  The fries will make a “nest” that stays together when you pick it up.

5.  Remove when crispy onto a plate, and enjoy with your favorite condiments!

Katuk-Stuffed Mushroom Cap

Katuk’s nutritional content is outstanding: 49% protein, 18% fiber, vitamins A, B & C, potassium 2.77% (more than bananas at 1.48%);

calcium 2.77% (dried skim milk is less than half that at 1.3%); phosphorus .61% (dried soybeans are at .55%); magnesium .55%; and iron.

These mushroom caps stuffed with katuk leaves are delicious and very nutritious!

You will need:

10 mushroom caps (white or portabella)

1/2 -2 cups packed katuk leaves

2 tbsp freshly-minced onion

2 tbsp parmesan cheese

1 tbsp nutritional yeast

1 tsp garlic powder

2-3 cloves of black garlic, minced (optional)

1 tsp sea salt

2 tbsp olive oil

grass-fed butter

thinly sliced cheese for melting on top (your choice of flavor, optional)

1.  Gently clean the mushrooms.  Remove mushroom stems and lay the caps upside-down on a baking sheet covered with parchment paper.  Place a small amount of butter in each cap and bake for 5 minutes at 350 degree F.  Remove and set aside.

2.  Place the mushrooms stems, the katuk leaves, minced onion, parmesan, nutritional yeast, garlic powder, sea salt and olive oil in a food processor.  Process until it becomes a pesto, scraping the sides of the bowl to ensure even consistency.

3.  Fill each mushroom cap with some of the katuk filling, then bake again for another 20 minutes at 350 degrees F.

4.  During the last 5 minutes of baking, you can place a thin slice of cheese on each cap so that it melts, but doesn’t burn.

5.  Enjoy while hot!


Kale/nut/apple salad with balsamic vinegar/maple syrup dressing

DSCN7794

You can make a large batch of this, eat some immediately, then divide it into individual servings and have an easy-to-grab lunch or dinner the next day too!  It keeps well for a day or two in the refrigerator and in a container with a lid or plastic wrap to protect it from the open-air.

Ingredients:

large bunch of chopped kale, or a large bag of chopped kale

several handfuls of various raw seeds and nuts (pecans, walnuts, sunflower seeds, sesame seeds, etc.)

2-3 diced apples, use both colors

handful of dried cranberries that are not coated in white sugar (fruit juice as the preservative is fine)

Place ingredients in a large bowl.

For the dressing:

2/3 cup filtered water

1/2 cup 100% pure olive oil

1/4 cup balsamic vinegar

1 1/2 tbsp Bragg’s liquid amino

1 tbsp stone ground mustard

Whisk ingredients in a bowl until thoroughly mixed and pour over the kale salad.  Massage into the kale, nuts and fruit until all the kale is moistened with the dressing.  

Refrigerate any un-eaten portion for up to 2 days.


Alkaline Key Lime Fruit Dip

DSCN7220


8 tbsp organic cottage cheese

juice of 1/2 lemon

juice of 1 lime

1-2 tbsp raw honey

1/4 pure vanilla (optional)

In a bowl, use a hand-held emersion mixer to blend all ingredients thoroughly.

Use apple slices, strawberries, peach slices or dabble on top of a bowl of berries and seeds!

Can be stored 2-3 days.


Sprouted-grain sourdough bread

10246726_10203024084699628_7175720993037386176_n


5 Benefits to Sourdough Preparation

(taken from Real Food Forager)

Click here for the full article.

1- Increases beneficial lactic acid

The longer rise time needed for sourdough increases the lactic acid and creates an ideal pH for the enzyme phytase. This enzyme breaks down phytates more effectively than in yeast breads. Sourdough rye has the least amount of phytates making it a healthier bread.

2- Predigestion of starches

The bacteria and yeast in the sourdough culture work to predigest the starches in the grains, thus making it more easily digestible to the consumer.

3- Breakdown of gluten

Here again, the longer soaking and rising times in the preparation of sourdough breaks the protein gluten into amino acids, making it more digestible.

4- Preservative

The acetic acid which is produced along with lactic acid, helps preserve the bread by inhibiting the growth of mold.

5- Better blood glucose regulation

There has been some research suggesting that sourdough bread — sourdough white bread — showed positive physiological responses. The subjects’ blood glucose levels were lower after eating sourdough white bread compared to whole wheat, whole wheat with barley and plain white bread. Interestingly, the subjects tested after eating whole wheat bread fared the worse — with spiking blood glucose levels.

___________________________________________________

Sprouting the wheat berries:

I usually sprout 4-5 cups at a time, using filtered water (not tap water). In a large bowl, cover wheat berries with enough water to go over them by about 2 inches.  Leave covered and sitting in a dark corner over-night.  Most of the water will get absorbed but add more if the water disappears completely.  After about 10-12 hours, drain and rinse, spread on your dehydrator shelves or on large cookie sheets, allow to stay moist and sprout for an additional 6-8 hours until you see tiny white roots beginning to stick out of the berries. Dehydrate the berries until they are hard, then store in a zip-lock until ready to mill, or mill them when they are dry. You can also use the sun to dry them if the weather is warm, dry and sunny. Grind the dried sprouted wheat berries in your mill, this is your sprouted grain flour!

_________________________________________________

You must first make your own “starter”

There are about as many ways to start a sourdough starter as there are sourdough chefs, and there are some basics that you should know about before you begin.  I highly suggest doing some research and studying 5-6 educational resources on the topic of sourdough starters before decided how to make your own.  This is a great link to some valuable beginner information about how to make your own sourdough starter.

“Starting a Starter”

A great source for information and starter products is “Cultures For Health.”   This site offers many types of starters for many types of fermented foods!

At the time of this blog (5/6/2014), I have only been making sourdough for about three months.  Actually, I have been learning to make sourdough for three months, it is only recently that I have been able to create consistent results time after time, with the exception of those times when I don’t pay attention to details and make mistakes.  Consider the mistakes your personal teacher, for you will learn valuable lessons from your mistakes that will guide you to better and better results.  The starter seems to be a huge key to the success, and I am still using the “descendent” starter from my original batch. I bake a lot of bread, so it gets fed every day and has become very active.  The more active it becomes, the better the bread turns out.  I keep my starter in a large mouth mason jar, fitted with a fermenting air-lock attached to the lid.  But you could cover the jar with a thin cloth and use the ring of the lid only as well.  I love the smell of the starter, it almost reminds of a the smell of a very light beer.  I use King Arthur’s 100% organic brand of flours, but plan to expand to more types of flours in the future now that I am becoming more confident.  I have used organic spelt flour, as well as whole wheat flour (organic) to feed my starter, as I have read that using various types of flours can add additional flavors and types of bacteria to your starter as time goes by.

____________________________________________

My personal recipe for sourdough starter:

1/2 cup organic sprouted and milled wheat flour

1/2 cup filtered water

1.  Add the flour and water together in a large glass mason jar, stir well with a wooden or plastic spoon.  Cover lightly and without sealing the container (gases created during fermentation will cause the jar to crack if it cannot escape).  I use an unbleached coffee filter that is attached upside-down on the wide-mouth jar using a rubber-band.  Let sit for 12-24 hours.

2.  Each day, “feed” your starter by pouring out half of the starter and then adding a little more flour and water, trying to keep a sticky, moist consistency.  If the starter gets too big and over-flows the jar, pour out some of the starter to create room.  Repeat this process for 4-6 days until it smells kind of like beer, or fermented grains.  It should be ready to use after about five days of fermenting.

For more details about this method of creating your own starter, please see this link. 

_______________________________________

Suggestions for what you will need to make the dough:

1. A very large mixing bowl (the larger the bowl, the less flour ends up on your floor)

2.  Flour sifter

3.  Measuring cups

4.  Old-fashioned hand-crank rotary mixer

5. Strong plastic mixing spoon

6.  Large stainless steel bowl

7.  2 Loaf pans (I use glass)

8.  Parchment paper

10.  Clean water mister bottle with clean filtered water in it.

_______________________________

RECIPE

Step 1. Making the bread (makes 2 leaves):

approx. 1 – 1 1/2 cup starter

(it is best to use starter that has been fed within the previous 6-12 hours and is at its peak of fermentation [nice and high and bubbly], and before it starts to fall again)

1 tbsp finely ground sea salt (I use Celtic sea salt)

2 2/3 filtered room temperature water (non-chlorinated)

enough organic flour until no more can be absorbed into the dough

(Each loaf uses 1 1/3 cups of water, this will be your guide to how much flour you need.  If you do not have sprouted grain flour, you can still make sourdough using flour out of a bag.  Try to use organic flour.

Making the dough:

1.  Using a hand-held mixer or whisk, blend the starter, salt and water together until everything is evenly dissolved. This is also the step in which you would add herbs, spices, raisins, olives, etc into your dough if desired.

2.  In 1-cup increments, begin to add the flour to the mixture using the hand-held mixer until it gets too thick then switch to a strong plastic spoon.

3.  Continue to add 1 cup increments of flour until the dough becomes too difficult to mix with the spoon, then switch to kneading until the dough is a solid ball that will not stick to your hands when kneading it.

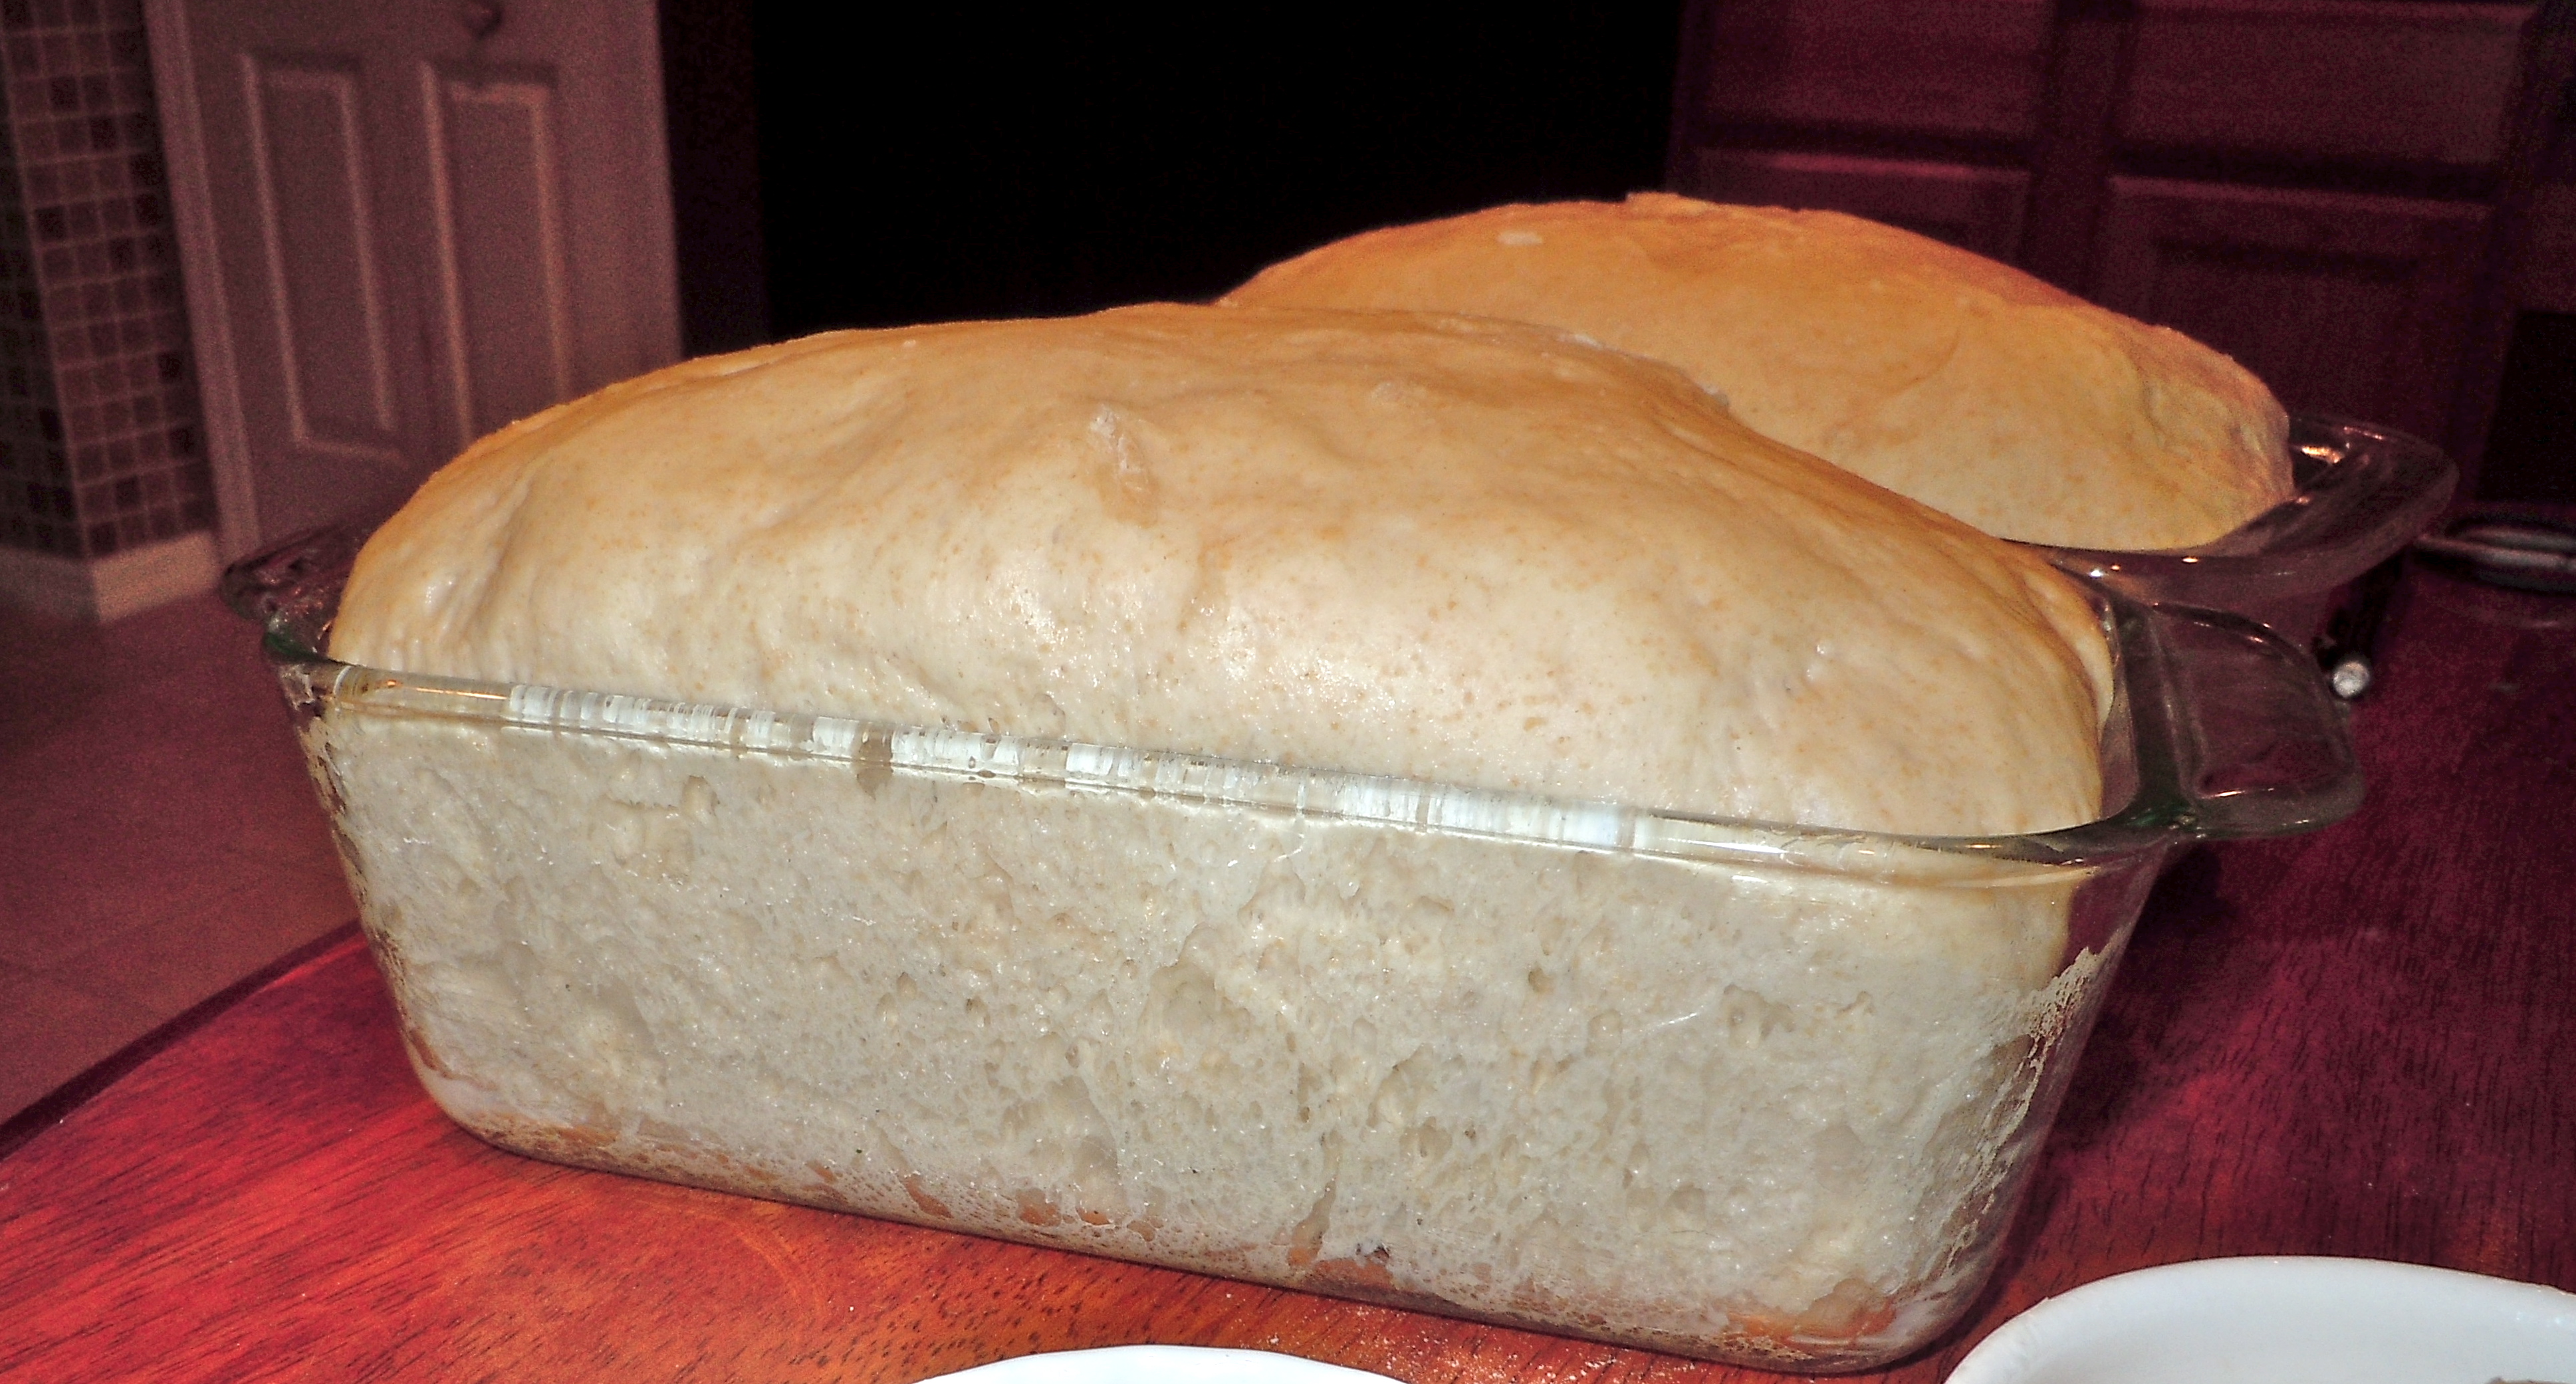
4.  Divide the dough in half and transfer to 2 loaf pans that are lined with parchment paper, let rise in oven with the light on until it is rounded and has reached a nice height over the sides of the loaf pan. 5-9 hours, depending on how active your starter was.

5.  Bake at 350 degrees for 30-35 minutes.

5.  Let experience be your teacher.  There is never a fail, only a lesson to learn.

(ready to bake!)

DSCN7110

2.  How to store sourdough

1.  If you want to store sourdough for future use, place into a large plastic zip-lock freezer bag or bread sack (available at restaurant supply stores or on Amazon.com) and put in the freezer.  To eat, simply let the loaf thaw for several hours until completely room temperature. Leave in the bag unless you are slicing it.  It should be good for 3-4 days after thawed. Some people like to slice it and then freeze, so that they can just take out a slice at a time and warm it in a toaster oven.

2.  If you don’t want to freeze it, you can store it in a bread box or in a plastic bag that can be tied-shut to make it as air-tight as possible.  Do not refrigerate, this will make it dry out quicker.  The bread should be good for 2-4 days just sitting on your counter if it has some protection from the open air.  Slice off each piece as you need it, and lightly warm each slice in toaster oven!

3.  Old sourdough bread can be made into traditional French Toast!


Fermented Vegetables

Making your own fermented vegetables (also known as cultured) at home is easy!

1836900_10202453309350601_1928317919_o

You will need:

Fermenting lid with air-lock (many styles available online and at brewery stores), a sanitized mason jar, and a small stainless steel cup (optional).

The size of the jar is up to you, but be sure to put enough vegetables in it to reach to the top of the jar.

The small stainless steel cup can be found at kitchen supply retail stores and online, and are used to control over-flow that often occurs when vegetables are fermenting.

DSCN6897

To make fermented sauerkraut (cabbage):

1.  Slice up one full head of clean and rinsed cabbage to 1/4-1/2 inch strips

(I like green cabbage the best for this recipe)

2.  Place cabbage in large bowl or clean/sanitized food-only bucket, sprinkle with approximately 1- 1 1/2 tablespoons of Celtic sea salt per head of cabbage (depending on how large the cabbage head is, how salty you want it to be).  In all honesty, knowing how much salt to add comes with practice.

3.  Place a clean, sterilized ceramic plate upside-down, on top of the cabbage and then put something heavy on top of the plate, and allow to sit for 30-45 minutes.  The salt will pull the water out of the cabbage, creating its own brine.  It is ready when there is enough brine to almost cover the level of the cabbage.  It will continue to make more brine over the fermentation period.  Toss mixture with 1-2 tbsp of caraway or dill seeds (optional, but suggested for a great flavor!)

4.  Stuff as much of the cabbage and brine into a sanitized mason jar as you can, using a blunt object to pack it as you fill the jar.  Leave just enough room at the top for the stainless steel cup, and place it at the top of the cabbage and just underneath the air-tight lid.  Use spring water to fill jar more if needed.

5.  Put on the air-lock lid, fill the air-lock tube with water up to the fill-lilne, and let rest on your kitchen counter for 5-6 days.  During this process, you may smell funny smells and/or the liquids may leak out of the top of the lid (especially if you do not have the metal cup inside the mason jar to capture the over-flow during fermentation).  If over-flow becomes a problem, place the mason jar on a plate to contain any over-flow.  Be sure that all the food remains underneath the level of the liquid.  Sometimes, if I have put too much cabbage into the jar, I have to open the jar and scrap out some of the excess cabbage to allow for more room.  Exposure to air will sometimes cause discoloration at the top layer of the fermenting foods, especially if the brine does not go over the top of the vegetables.  If discoloration occurs, simply wipe away the top layer until the brine liquid is above the level of food again.  I find that cabbage “swells” as it ferments, and I sometimes have to allow some of the bulk out as it swells.

6.  After 3-4 days, remove the air-lock lid and the metal cup, clean away the top of the mason jar, and replace the lid with a sanitized metal canning lid.  Place the fermented vegetables in the refrigerator and enjoy a few bites each day for weeks!  Leave the lid slightly lose, to allow small amounts of gases to be released if the jar is not opened often. Although the cooler air does slow down the process of fermentation, is does not completely stop it.  I have never had a jar explode on me, but I also don’t close the lids very tightly.  You can leave these vegetables in the refrigerator for many months, if they last that long as you eat them.  It may take several tries to get the recipe just right for your personal tastes.  You can try herbs and spices once you get advanced.  Funny smells are a part of fermenting and you will get used to it.  It is rare for a whole batch to go “bad” because the salt creates such a state of alkaline that nothing dangerous will grow in it.  In fact, fermented vegetables are not even regulated by the State of Florida, where I live.  But taste is a different story, and some vegetables don’t ferment as well as others.  You will have to find your favorites through trial and error.

DSCN6564

DSCN6899 

Fermented vegetables recipe:

Approximately 4/5 tbsp sea sat for every 2 cups spring water

Broccoli, cauliflower, carrots sticks

——

1.  Mix salt with water until dissolved.

2.  Stuff mason jar full of vegetables, until the level reaches the top of the jar.

3.  Fill jar with salt/water brine until the level of water is above the vegetables and close to the top of the jar.

4.  Place metal cup on top of vegetables so that the water is right to the rim of it, then place the

fermenting air-lock lid on jar, allow to ferment on your kitchen counter for 5-6 days.

5.  After 5-6 days, remove the air-lock lid and the metal cup, clean away the top of the mason jar, and replace the lid with a metal canning lid.  Place the fermented vegetables in the refrigerator and enjoy a few bites each day for weeks!  Leave the lid slightly lose, to allow small amounts of gases to be released if the jar is not opened often. Although the cooler air does slow down the process of fermentation, is does not completely stop it.  You can leave these vegetables in the refrigerator for many months, if they last that long.  It may take several tries to get the recipe just right for your self.

Search online for endless recipes and tips from others who have also been inspired to blog about fermented/cultured vegetables!

981500_10200758296496339_2016752373_o